February 11, 2026
How to Generate AI Images From Text in 2026: A Beginner's Guide
A step by step beginner guide to creating images from text prompts using Myjourney, with practical tips, prompt examples, and common mistakes to avoid.
How to Generate AI Images From Text in 2026: A Beginner's Guide
If you are searching for how to generate AI images from text, you want a clear walkthrough, not hype. This guide shows the full beginner workflow using Myjourney, from writing your first prompt to downloading a finished image. I will also point out the common mistakes that cause bad results and how to fix them quickly.
Myjourney is an AI image and video generator at myjourney.so. It gives you a simple grid, clear prompt controls, and a credit based pricing model. You can start for free, browse examples in the Explore gallery, then decide if you want to buy credits on the pricing page. If you are brand new, start with this tutorial, then go deeper with the AI image generator for beginners guide and the prompt writing guide.
What is text to image AI, in plain language
Text to image AI takes a written prompt and turns it into an image. You describe the subject, setting, and style, then the model guesses what you want. The output is not always perfect, so you refine prompts, adjust settings, and iterate. Think of it like directing a shoot with words.
Myjourney runs modern models behind the scenes, including fast draft generation for quick ideas and higher quality modes for detail. You do not need to know the model names to get started, but it helps to understand the basics of prompt structure.
The basic workflow in Myjourney
Here is the simple process you will repeat for almost every image:
- Write a specific prompt with subject, scene, and style.
- Choose an aspect ratio that fits your use case.
- Generate a grid to see variations.
- Pick the best frame and refine the prompt.
- Download or upscale if you need more resolution.
That is it. The rest of this guide shows how to make each step work better.
Step 1: Start with a clear prompt
A good prompt is specific but not overloaded. If you only write a vague phrase like "cool sunset", you will get random results. If you write a prompt with too many conflicting details, the model will also struggle. Start with a clean, direct description.
Here is a basic prompt template that works well:
[subject], [scene], [lighting], [style], [camera or composition]
Example:
a ceramic coffee mug on a wooden desk, warm morning light, minimal studio style, close up product photo
That prompt already sets the subject, the scene, the light, and the style. You can improve it with one or two extra details:
a ceramic coffee mug on a wooden desk, warm morning light from a window, minimal studio style, close up product photo, shallow depth of field
Avoid long lists of unrelated adjectives. You want one clear direction.
Prompt length and clarity
Short prompts are good for exploration. Longer prompts are better when you want a precise result. The key is clarity. A prompt with 12 clear words is often better than a prompt with 50 vague ones.
If you need help, skim the community prompts in the Explore gallery. You can see what worked for real users and borrow the structure, then adapt it.
Step 2: Pick the right aspect ratio
Aspect ratio decides the shape of your image. A square image is best for profile images and some Instagram posts. A wide image is better for banners, YouTube thumbnails, and blog headers. Myjourney supports the common ratios used across social and web.
Here is a quick guide:
| Use case | Recommended aspect ratio | Notes |
|---|---|---|
| Instagram feed | 1:1 or 4:5 | Square is safe, 4:5 fills more screen space |
| Blog header | 16:9 | Matches most cover image layouts |
| Twitter post | 16:9 | Works for cards and thumbnails |
| Pinterest pin | 2:3 | Tall images perform better |
| Story or Shorts | 9:16 | Full screen vertical |
If you are creating for social media, the AI image generator for social media guide has more size details.
Step 3: Generate your first grid
In Myjourney, a prompt produces a grid of variations. This is useful because it gives you options without extra work. Choose the variation that best matches your idea, then refine from there.
When you are using a new prompt, start in draft mode to save credits and iterate quickly. When you have a clear direction, switch to standard or raw quality for sharper detail.
Draft vs standard vs raw
Here is how to think about the modes:
| Mode | Best for | Speed | Cost |
|---|---|---|---|
| Draft | Quick ideas, experimenting | Fast | Lowest |
| Standard | Balanced quality | Medium | Medium |
| Raw | Realistic textures, high detail | Slower | Highest |
A simple trick is to run two or three draft grids, then move the best prompt to standard. That saves credits and keeps you moving.
Step 4: Refine your prompt with small edits
Refinement is the key to getting great results. Most people fail by changing too many things at once. Instead, change one variable, then compare the new grid to the last one.
Here are good refinement moves:
- Add a material or texture, like "brushed aluminum" or "matte ceramic".
- Specify lighting, like "soft window light" or "hard rim light".
- Choose a style, like "editorial portrait" or "product photography".
- Add a composition, like "top down" or "centered".
Here is an example of a simple refinement path:
Base prompt:
a red bicycle on a city street, overcast light, documentary photo
Refined prompt:
a red vintage bicycle leaning against a brick wall on a city street, overcast light, documentary photo, 35mm film look
Same idea, clearer details. That usually improves output.
Step 5: Use the best variation as your anchor
When you find a good result in the grid, use it as your anchor. In Myjourney you can reuse the prompt directly from the lightbox. This is much faster than rewriting it each time.
If you want to explore more, keep the subject but change one major element. For example, keep the same subject, then try a new setting or time of day. That gives you a family of images that still feel cohesive.
Step 6: Download, upscale, or animate
Once you have the image you like, you can download it immediately. If you need higher resolution, you can upscale before downloading. If you want motion, you can also animate a still image into video.
Text to image is a good first step, but many creators combine images and short clips for social posts. Myjourney supports both, so you can keep the same creative flow.
Common beginner mistakes and how to fix them
Here are the errors that cause low quality results, and how to fix them.
Mistake 1: Vague prompts
Symptom: The image is random or generic.
Fix: Add a clear subject, a setting, and a style. Use the simple prompt template above.
Mistake 2: Too many ideas in one prompt
Symptom: The image feels messy, with inconsistent elements.
Fix: Remove extra objects, then run the prompt again. If you want multiple ideas, run separate prompts.
Mistake 3: Wrong aspect ratio
Symptom: The subject is cropped or awkwardly placed.
Fix: Switch aspect ratio to match your intended use. Use 16:9 for wide banners, 9:16 for vertical content.
Mistake 4: Switching style every time
Symptom: You cannot get a consistent look.
Fix: Keep the style stable and only change one thing at a time. Save the successful prompt as your base.
Mistake 5: Jumping to high quality too early
Symptom: You spend credits without getting closer to a good result.
Fix: Start in draft mode, then switch to standard or raw only after you like the direction.
Prompt examples you can copy
Here are three example prompts for different styles. Paste them into Myjourney and adjust as needed.
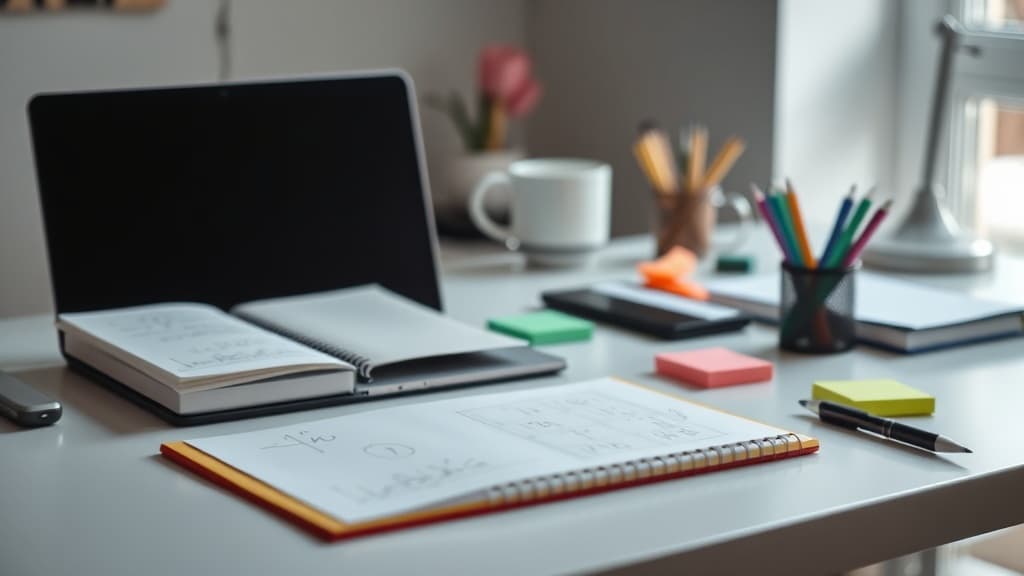
Product photo
a minimalist desk setup with a wireless keyboard and notebook, soft daylight, clean product photography, 50mm lens
Character portrait
a portrait of a chef in a small kitchen, warm tungsten light, candid documentary style, shallow depth of field
Landscape scene
a quiet mountain lake at sunrise, soft fog, muted colors, fine art photography, wide angle
If you want more ideas, browse the Explore gallery or read the AI art generator guide.
Comparing Myjourney to other text to image tools
There are many tools you can use for text to image in 2026. Here is a simple comparison focused on the basics that matter for beginners.
| Tool | Ease of use | Pricing model | Best for | Notes |
|---|---|---|---|---|
| Myjourney | Very easy | Credits | Fast iteration, clear UI | Simple grid, strong results |
| Midjourney | Moderate | Subscription | Artistic styles | Discord based workflow |
| DALL-E | Easy | Credits | Simple prompts | Good for general use |
| Stable Diffusion UI | Advanced | Free or self hosted | Full control | More setup and tuning |
If you want the cleanest beginner workflow, Myjourney keeps the steps simple and the results visible. If you want to compare in detail, see the best AI image generator comparison.
A practical mini tutorial: creating a blog header image
Let’s run a quick example. The goal is a blog header image for a post about sustainable coffee.
Goal: A wide image that feels warm and calm
Prompt draft:
a cup of coffee on a wooden table, warm morning light, cozy café mood, 16:9
First result: The image is fine, but the background is busy.
Refined prompt:
a ceramic cup of coffee on a wooden table, warm morning light, cozy café mood, minimal background, 16:9, soft shadows
Result: Cleaner background, stronger focus on the subject. Now you can download it as a header image. If you want sharper detail, rerun the refined prompt in standard mode.
This is the exact workflow you will use for most projects: draft, check, refine, then finalize.
When to use images vs videos
Text to image is ideal for thumbnails, blog headers, social posts, and concepts. Video adds motion and story, which can be useful for ads, reels, or product promos. Myjourney offers both, so you can start with an image and then animate it. If you are curious, read the AI video generator from text free guide to see how video generation works.
Pricing and credits: what to expect
Myjourney runs on credits, not a subscription. That means you can generate when you need it and stop when you are done. You can see current rates on the pricing page. For many users, the cost per image is low enough to experiment freely, especially if you start in draft mode and only upgrade the prompt when you find a good direction.
FAQ: How to generate AI images from text
What is the easiest way to generate AI images from text?
Use a tool with a simple UI and clear prompt controls. Myjourney is beginner friendly because you get a grid of variations and can reuse prompts quickly.
How long should a text prompt be?
As long as needed to describe the subject, scene, and style. Most good prompts are 10 to 30 words. The key is clarity, not length.
Why do my results look blurry or messy?
This usually happens when the prompt is too vague or when the aspect ratio does not match the subject. Start in draft mode, refine your prompt, then switch to standard quality.
Can I use AI generated images commercially?
In most cases, yes, but you should review the platform's terms and any relevant local laws. If you need more detail, read our guide on commercial use of AI images.
Is Myjourney free?
You can try it for free with a limited number of generations. After that, you can buy credits. See pricing for current rates.
How do I get consistent results across multiple images?
Keep the prompt structure consistent and only change one variable at a time. Reuse prompts from your best result, then iterate carefully.
Ready to try it yourself?
Create AI images and videos with Myjourney. 100 free credits, no credit card needed.
Related posts

AI Image Generator From Text: How It Works and How to Get Started
Learn how AI image generators turn text prompts into stunning visuals. A practical guide to text-to-image AI in 2026 — how it works, best prompts, and where to start for free.
How to Make AI Images for Free: 5 Ways That Actually Work in 2026
Want to create AI-generated images without paying? Here are 5 legitimate ways to make AI images for free, from browser tools to open-source models.
Liked this post?
Get notified when we publish new guides, tips, and comparisons. No spam.